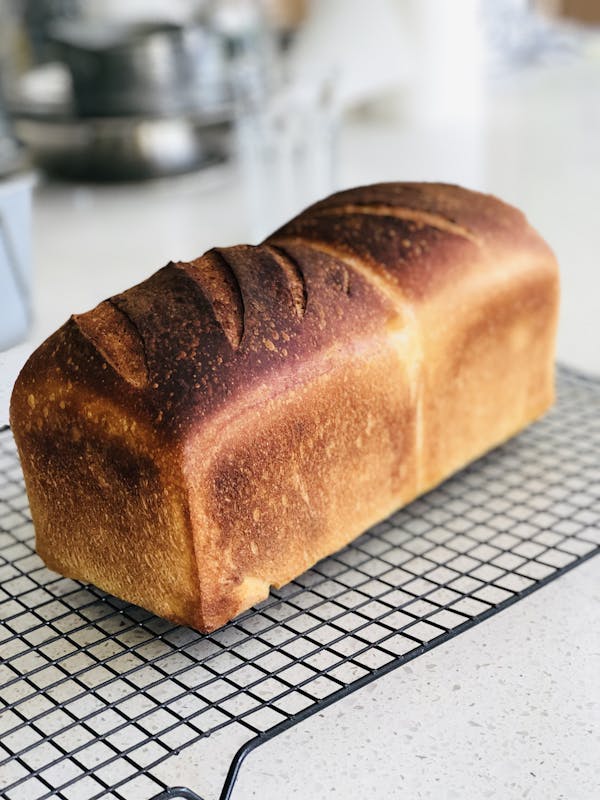
Sourdough Tutorial Day One
This is day one, for basic sourdough. You will need have accessed a starter from a friend or purchased one before beginning this version.
Get your Sourdough Starter recipe HERE. Alternatively, find a friend who already is whipping up loaves and grab some from them, or purchase from bread baking specialist stores and follow their instructions before beginning this recipe.
Gina from The Passionate Pantry has been teaching sourdough classes for years. So when she agreed to come and teach the Insiders via video I was totally delighted and I have to say, I am now whipping up a regular batch of sourdough and have made crumpets, brioche and am still thinking up ways to use my leftover starter and other ways to create a sourdough based product...stay tuned Insiders! You are all about to become experts.
Please access all the NOTES for this process here. I have saved them into iBooks and that is how I use the recipe. The video is long, but definitely worth the watching. You will learn a TON. So settle in, print the notes off, grab a notebook, and then get ready to ferment naturally baby!! It is addictive.
Remember, different flours and grains, seeds etc will always give you different results. Tiing may change a little bit here and there, so go with your breadly instincts. Don’t rush the process. This is fantastic. Get creative. You know you want to!!

Need
-
Activate Starter
- 80 Grams rye flour
- 120 Grams filtered water
-
Use your Starter
- 80 Grams rye starter
- 240 Grams water, room temperature
- 400 Grams white spelt flour or unbleached bakers flour
- 1 Teaspoon finely ground sea or lake salt
- Extra Virgin Olive Oil (EVOO) in a pump spray as needed BUY
-
Feed your Starter
- 90 Grams filtered water, room temperature
- 60 Grams rye flour
Do
- 1
On day one, remove your starter from the fridge and allow to come to room temperature.
- 2
Add the activation ingredients, (flour and water) and stir vigorously. Put the starter aside until it is bubbly and active. This will take between 4 and 9 hours. It needs to double in size. (see notes for more details)
- 3
When it is ready to use it will resemble a thick bubbly cream. You have enough starter to make up to 4 small 340g loaves with enough starter to feed and return for your next bake.
- 4
Before you start using your dough, place a plastic freezer bag on the bench for each loaf that you are making. Spray with the EVOO.
- 5
Place 80g of your activated rye starter into the Thermomix bowl. Add the water (or whey if you have it) and the white spelt flour and salt.
- 6
Knead 30 sec/Interval.
- 7
Turn dough out onto first oiled plastic bag and allow to rest while you repeat with each loaf as directed.
- 8
While the dough is resting, feed your starter.
- 9
You should now have only 150g starter in your containter. Add the 90g filtered water and the 60g rye flour and stir vigorously to incorporate oxygen into the starter. You should now have 300g starter for your next bake. Cover and place into the fridge until you are ready to activate and bake.
- 10
Starting with the first dough you created, put each batch back into the Thermomix bowl one at a time and knead 1 min/Interval.
- 11
Whilst dough is kneading, spray bag with a little more oil. Turn dough out onto plastic bag and wrap the dough completely in the bag. Put bags of dough into the fridge overnight or for up to 48 hours before proceeding with Day Two.


